Resources
The information contained in this guide can be found on the online Tridium documents available
- Online HERE
- On your workbench - Help-Help Contents looking for "DocAlarms-Alarm Setup-Orion database setup"
Introduction
Up to Niagara 4.10 (included), alarms could be stored in 2 ways:
- Locally, using the Niagara alarm file database (default)
- Externally, using a third party database (ie MySQL)
The 2 options were mutually exclusive. This meant that using an external database could lead to trouble accessing your alarms if there were temporary problems for Niagara to access the external database to read the alarm records.
With Niagara 4.11 a new option has been added: you can now choose to synchronize the alarms between the local Niagara alarm file database AND an external third party database.
The way this works is by holding:
- the alarm records of the OPEN ALARMS (offnormal unacknowledged, offnormal acknowledged, normal unacknowledged) to the local Niagara alarm file database
- the alarm records of the CLEARED ALARMS (normal acknowledged) to the external third party database. The synchronization of the cleared alarms to the external database occurs periodically
To describe the above, the table from Tridium documentation highlights the 3 available options:

Why using an external database?
The local Niagara alarm file database is usually limited to a default of 500 records.
Though this can be extended, it isn't recommended to go over 10000 without starting to experience some slow downs on your Niagara experience (opening the alarm console, running queries, etc).
Synchronizing cleared alarms to an external database will allow to keep a much smaller local database to work with the open alarms, still allowing access to historical cleared alarms.
How do you configure your station to use the new third option
Prerequisites
- The station can access an external third party database (MySQL, Oracle, SqlServer). For this article we installed the open library of MySQL in the local machine
- RDBMS driver license, available only for supervisors (an engineering office demo license will work for testing without extra licenses)
- If using MySQL, you need the MySQL Connector installed in your C:\Niagara\Niagara-4.11.0.142\jre\lib\ext folder. You must rename the connector to mysql-connector-java.jar (follow this guide as we will go through the step of installing it)
Installing MySQL
This part is obviously not required if you have already an external database and accessible user to push data into.
Download the MySQL community gpl database (at the time of writing the article, it can be found HERE)
Installing using the default (developer default) option
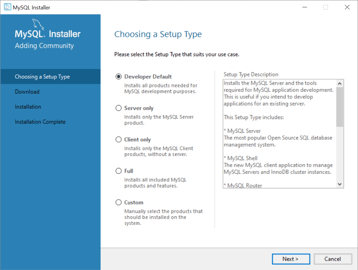
Disregard any missing component alert
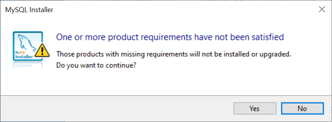
Execute the install.
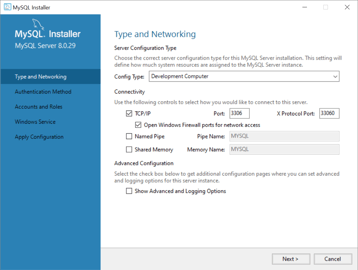
Configure MySQL Server.
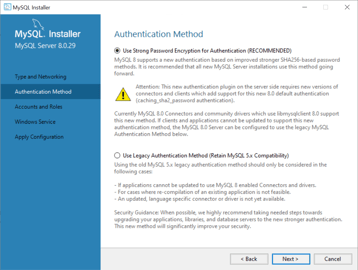
Leave the settings as default on "type and networking" and "Authentication Method"
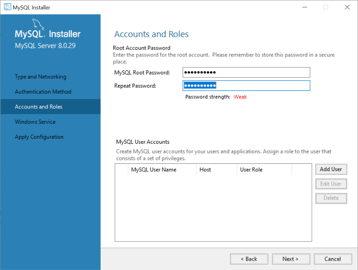
Select a "root" password. This is to maintain the database locally, not to access it from Tridium. Do not add extra users for now
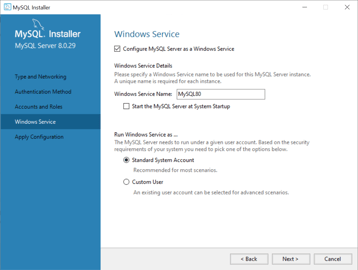
Un-tick the "run on startup" if you want to run the database on demand just for testing
Execute.
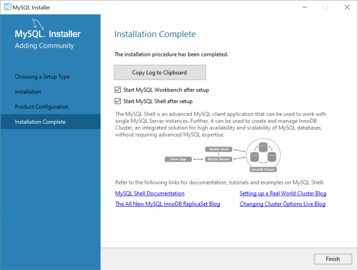
Disregard the MySQL Router configuration and test quickly the "Samples and Examples". You should get to this stage
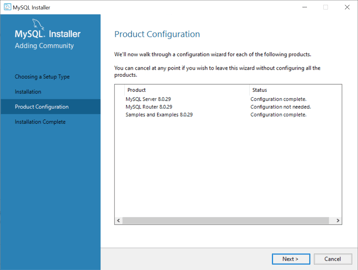
Finish
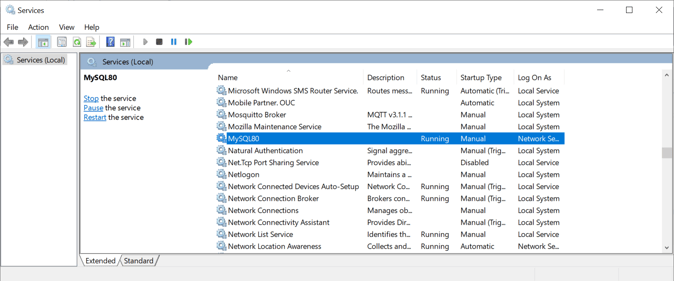
Check the service is running.
As we installed the database to start manually, at every PC restart the service will need to be manually started from the Windows Services
Configuring a database in MySQL
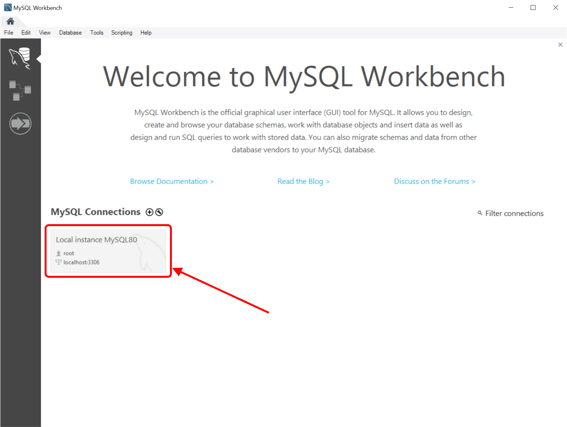
Open the MySQL Workbench.
Double click the local instance (use the root credentials to login)
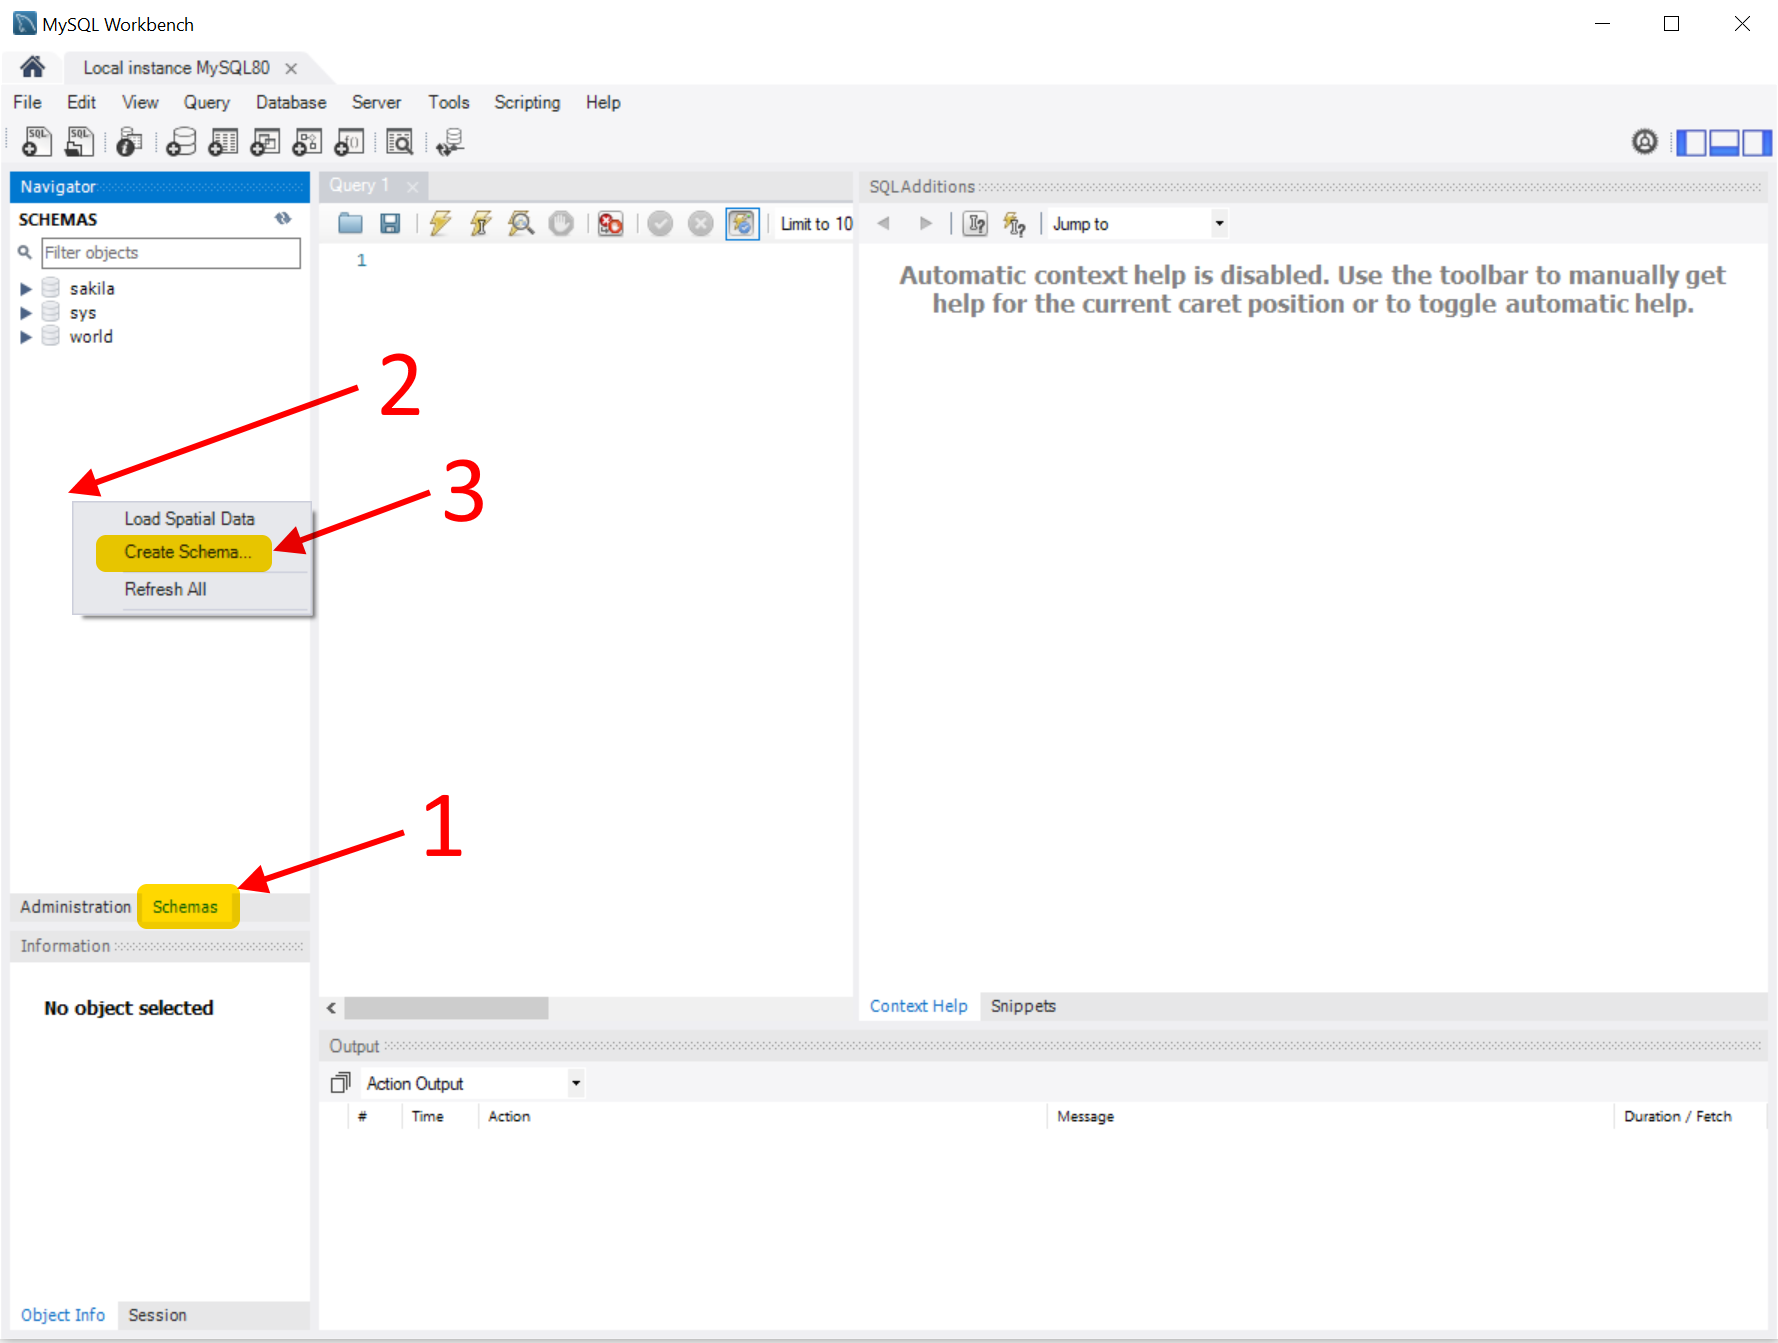
First, select the "Schemas" tab (point 1 below), then right click on an empty space of the Navigator (point 2) and select "Create Schema" (point 3)
Provide a name for the schema and click "Apply"
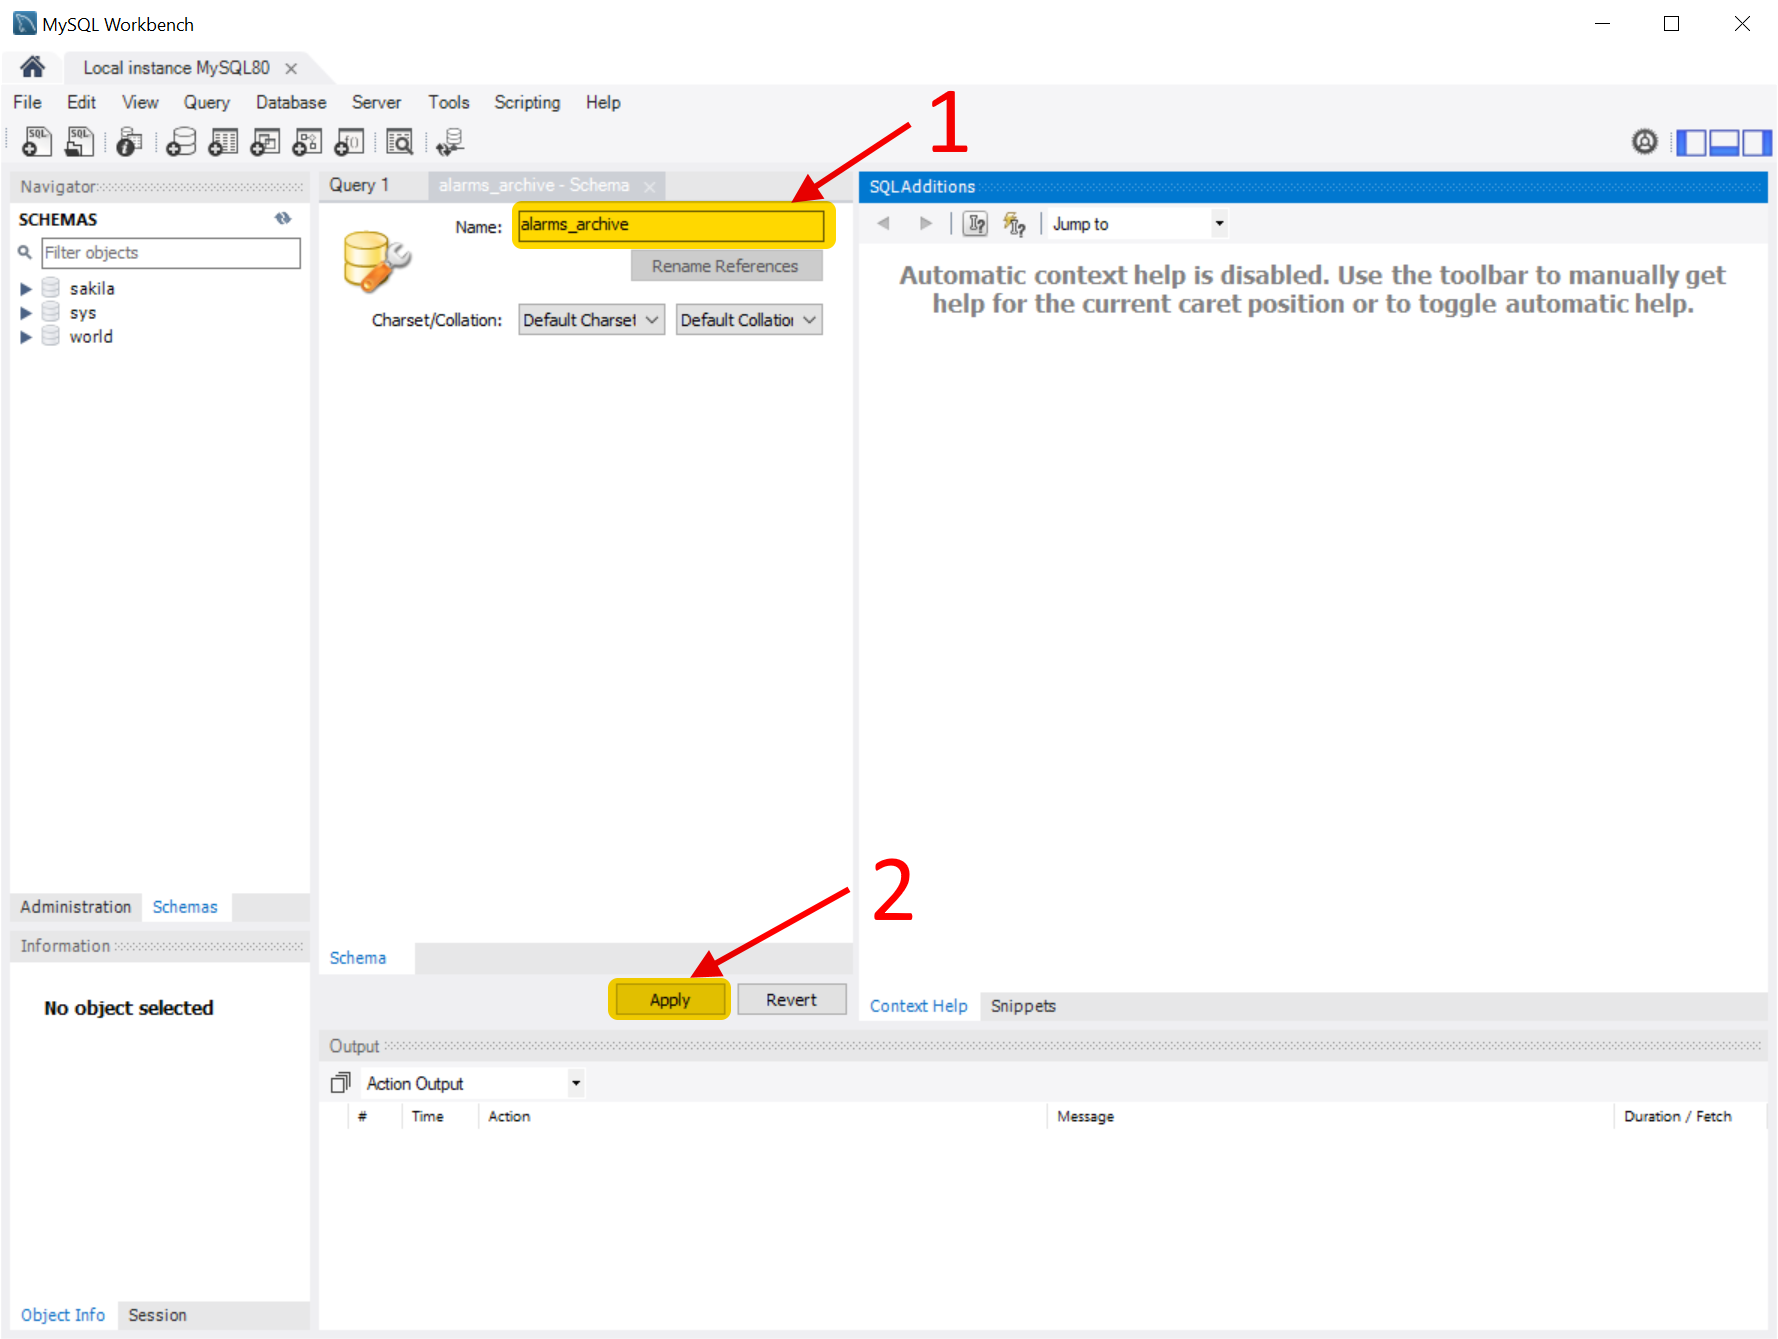
On the next 2 configuration windows, "Apply" and then "Finish"
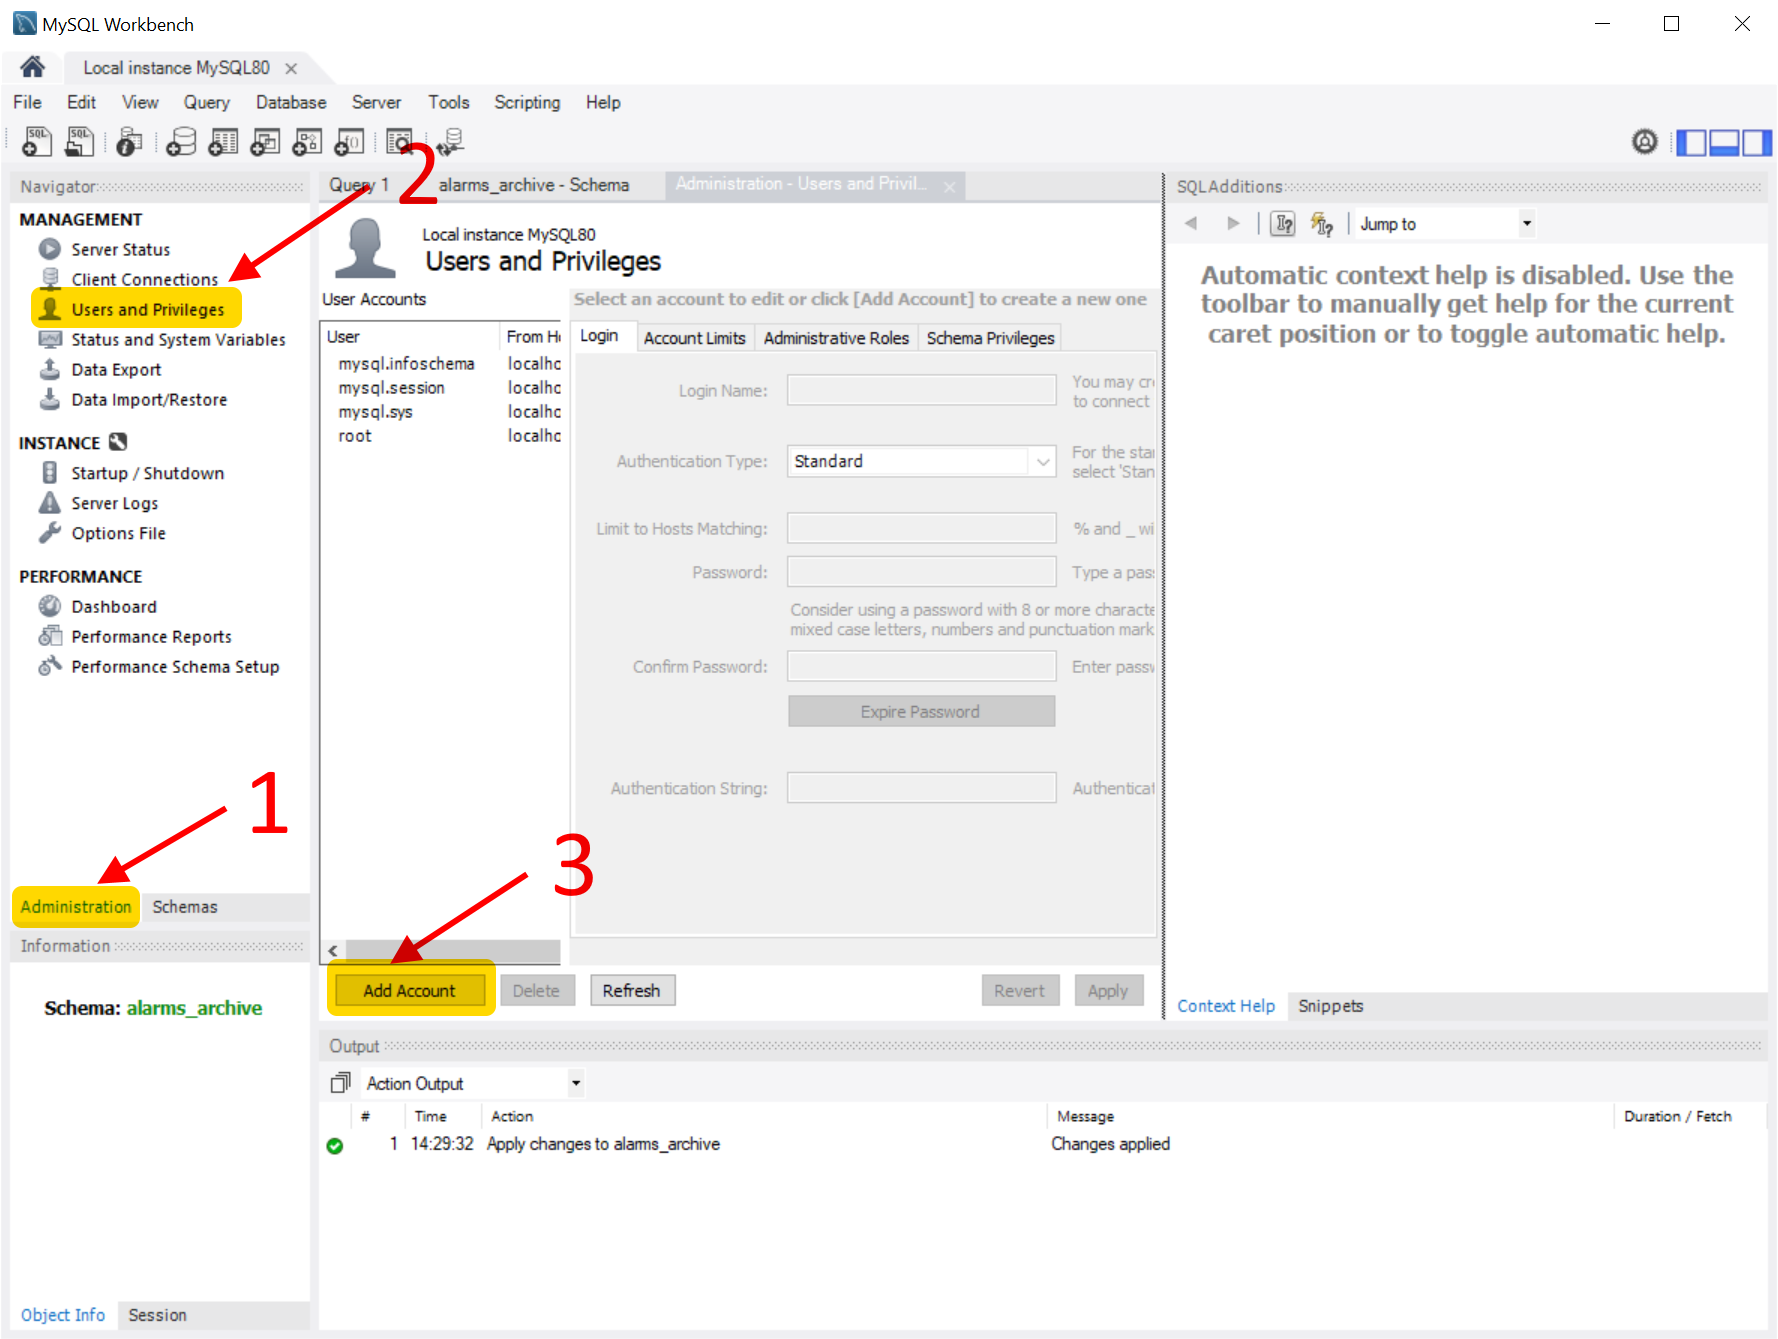
Select now the tab "Administration" (point 1), "User and Privileges" (point 2) and press "Add Account" (point 3)
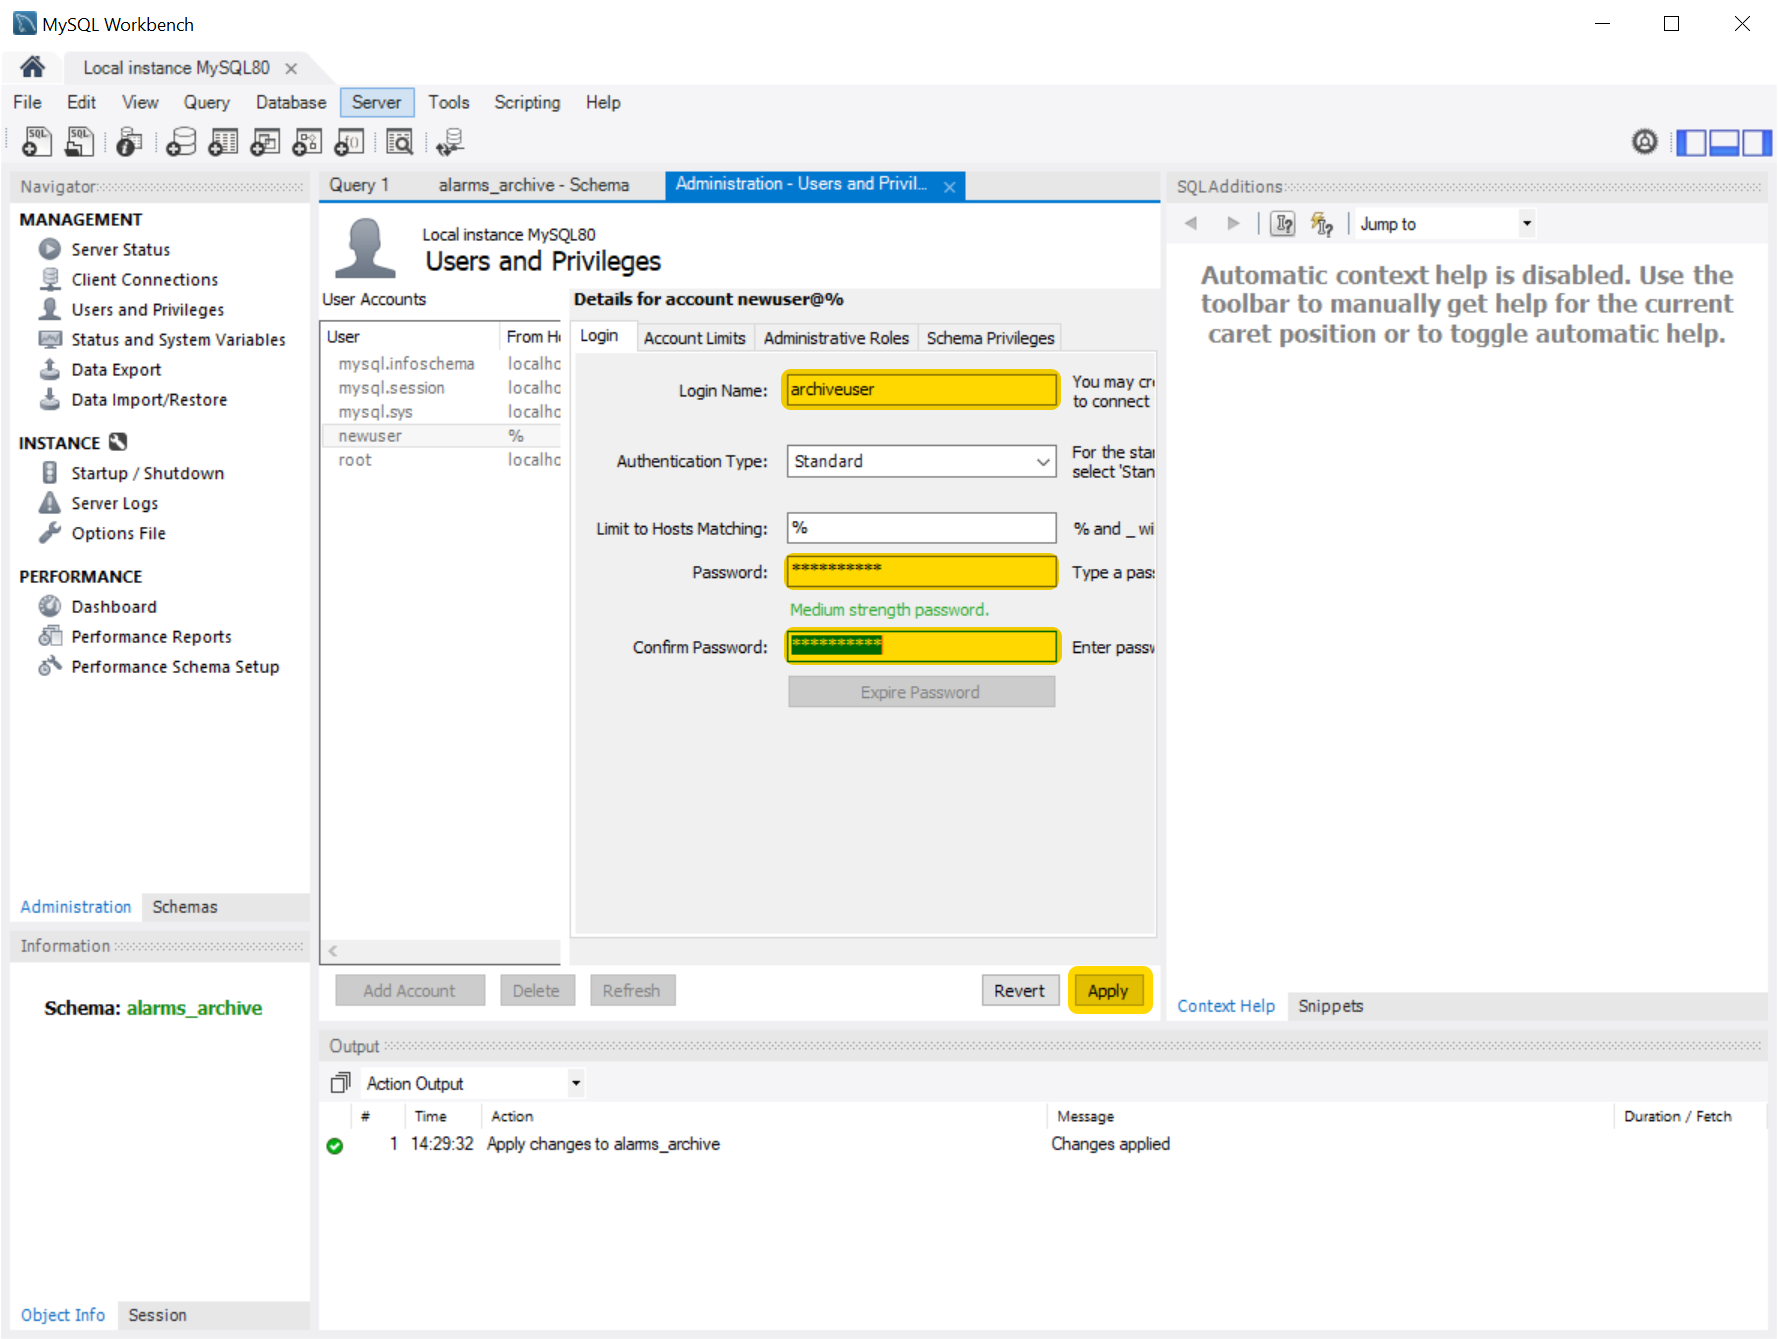
Provide a name for the new user and a password, then click "Apply"
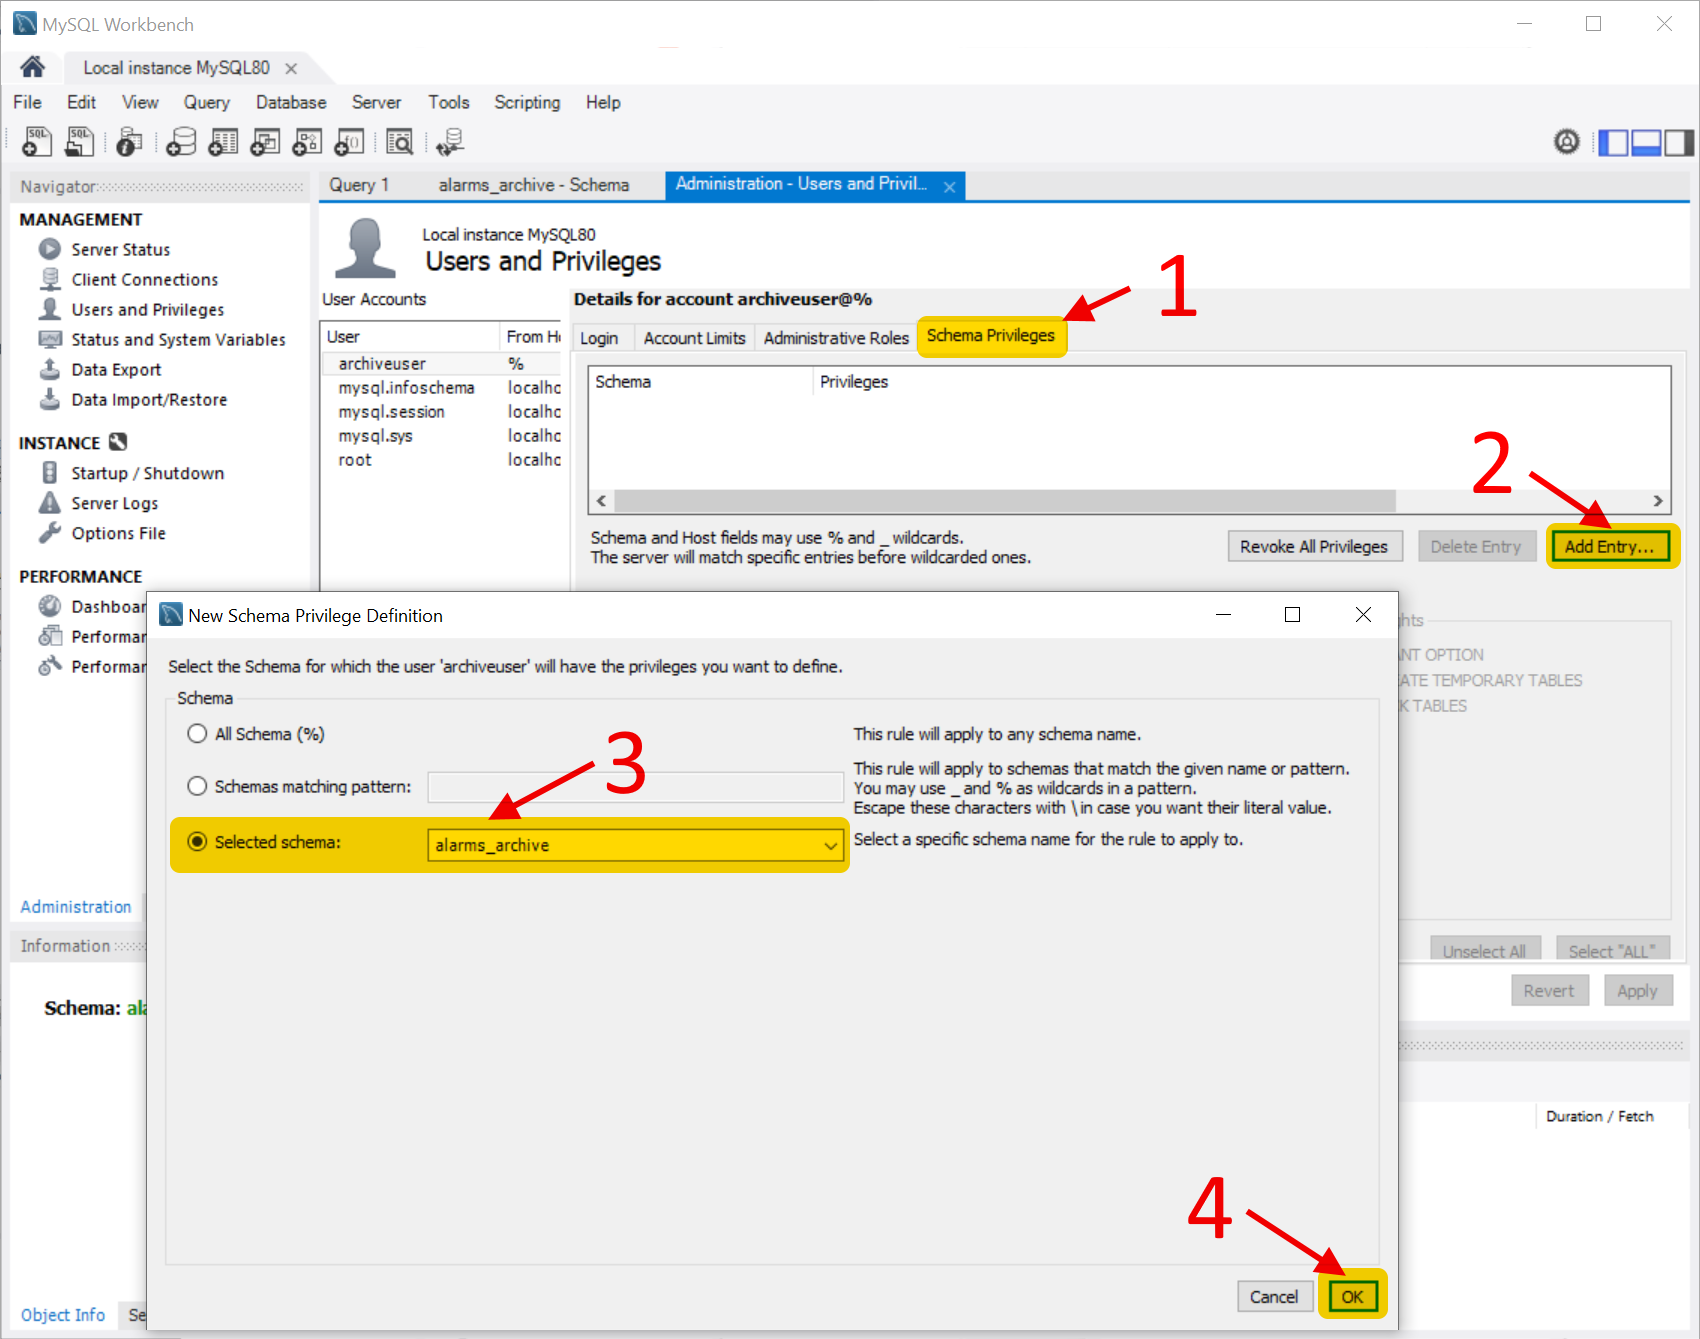
Making sure you do not change user, change tab to "Schema Privileges" (point 1), press "Add Entry" (point 2), use "selected schema" and select the alarm schema previously created (point 3), then press "OK" (point 4)
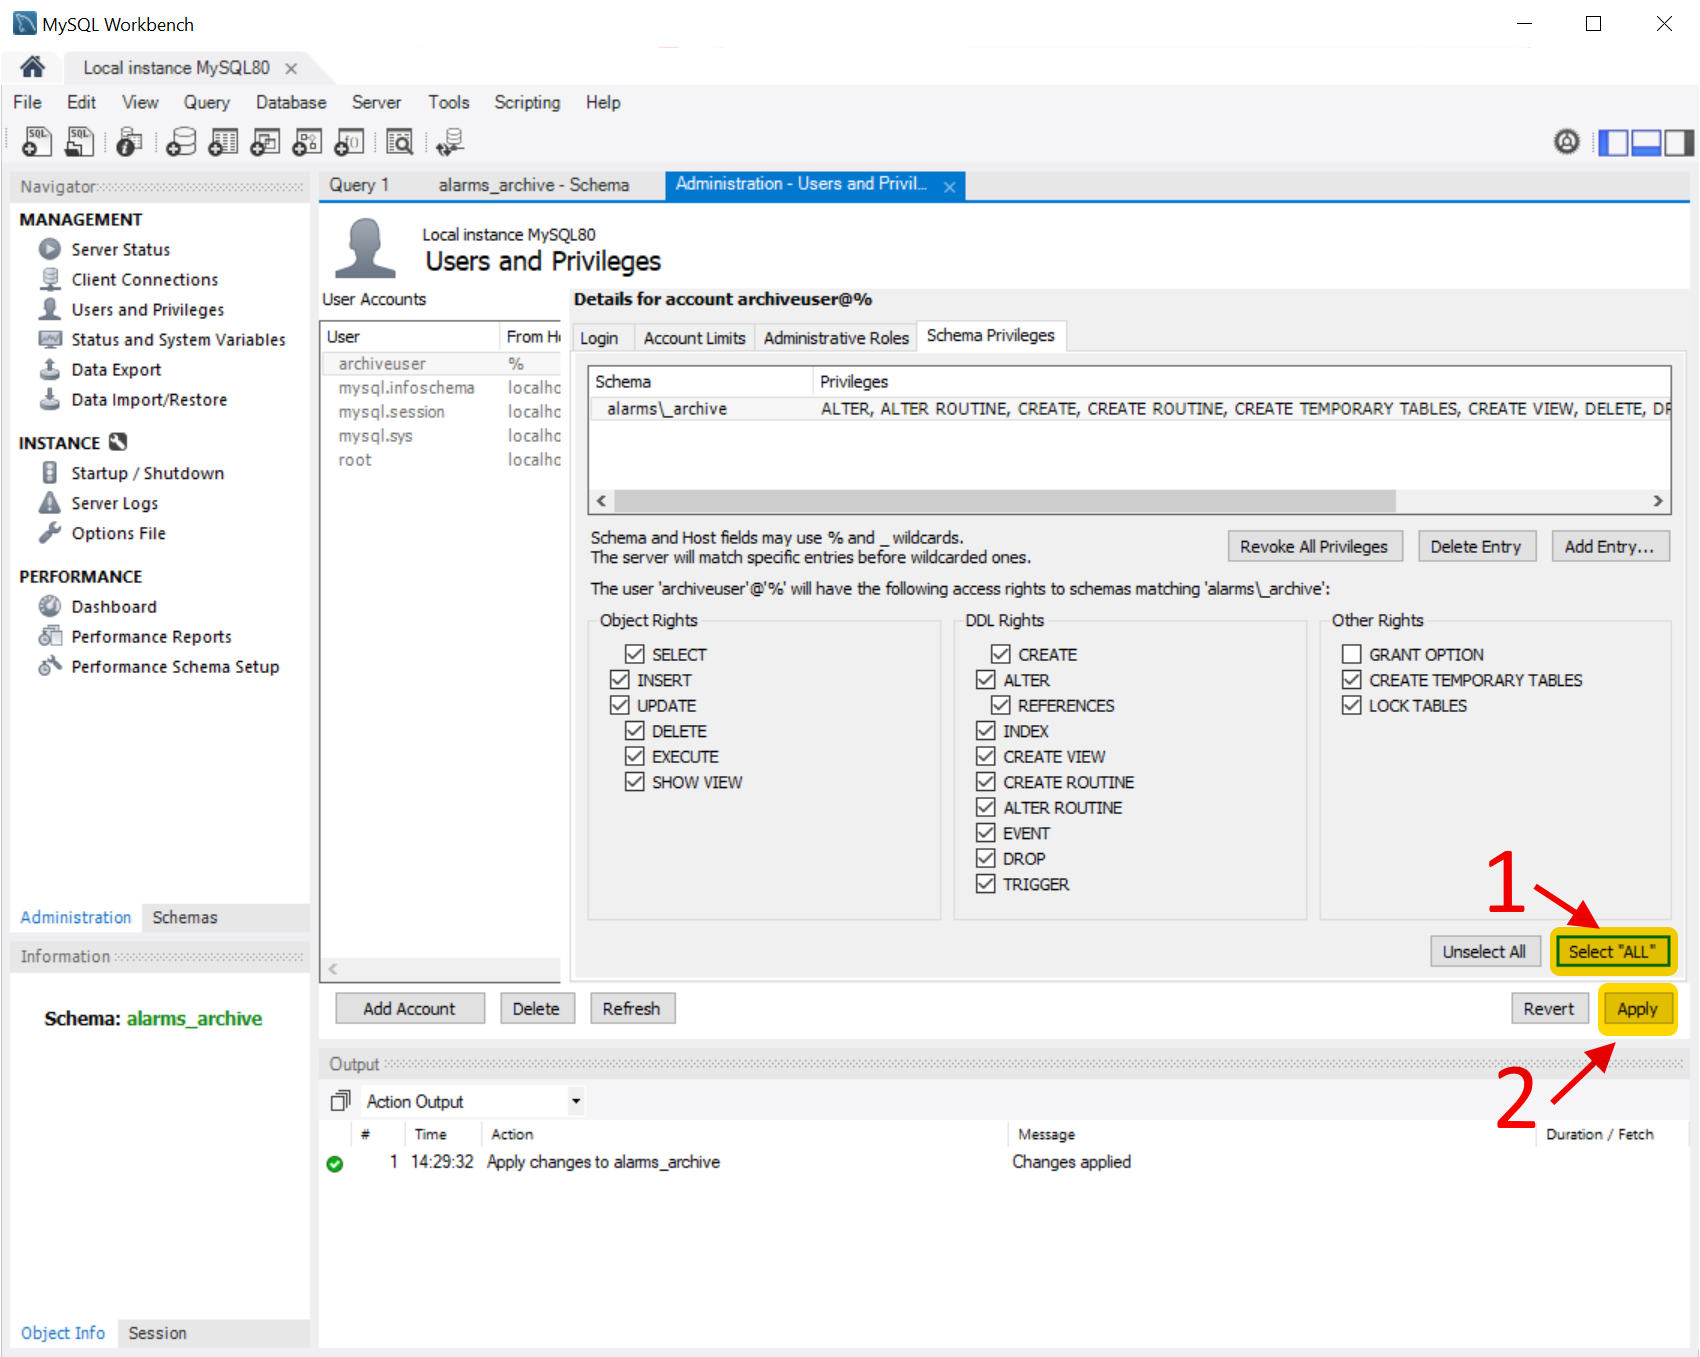
Press now "Select all" (point 1) and then "Apply" (point 2)
Copy the Java Connector to Niagara (only for MySQL database)
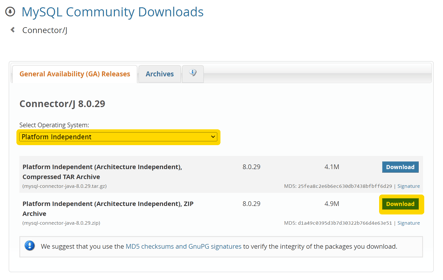
Download the Connector J from the MySQL website (at the time of writing this article, available at this link HERE)
From the download page, select "platform independent" and download the file ZIP
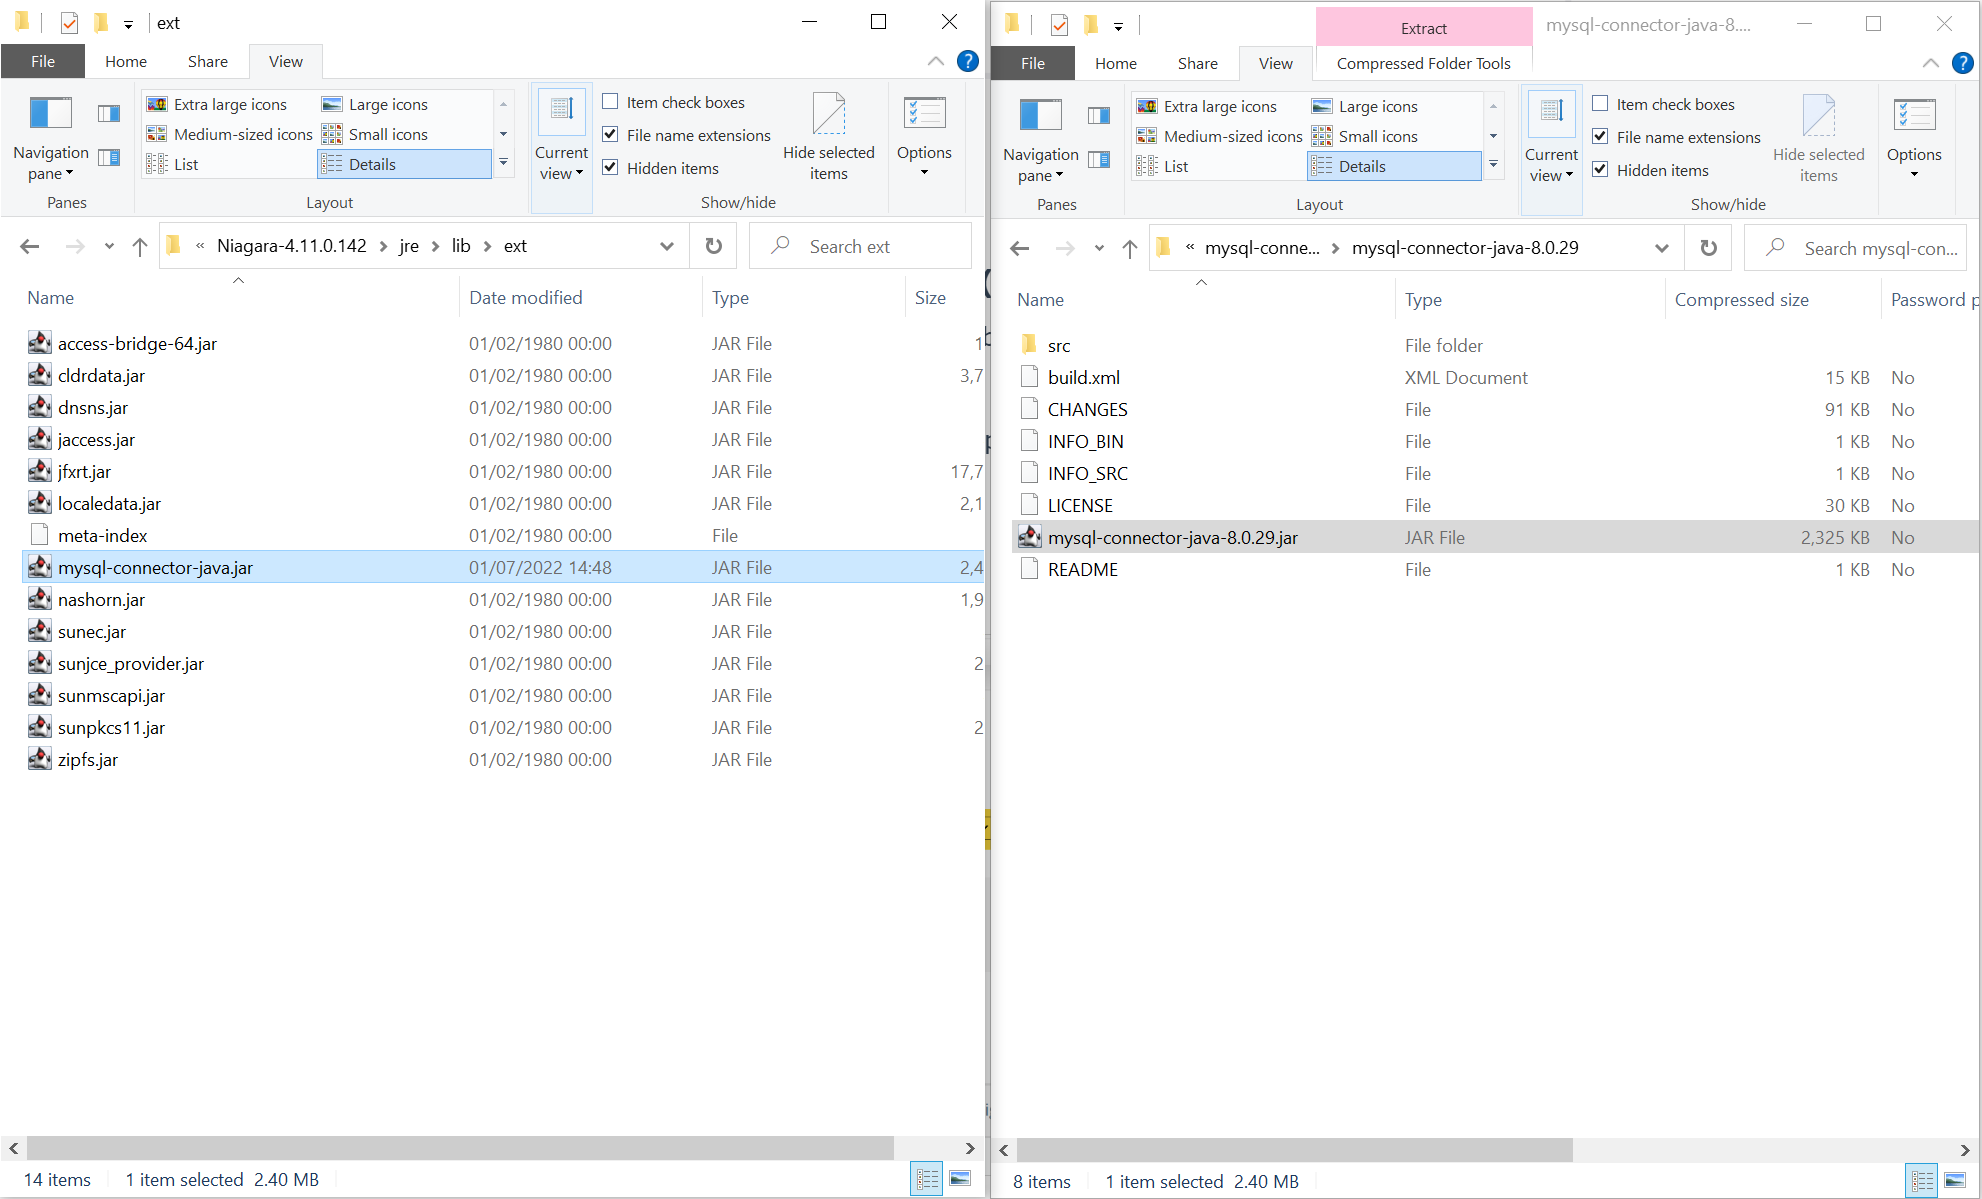
Expand the archive, copy the file mysql-connector-java-xxxxx.jar to the Niagara install folder
C:\Niagara\Niagara-4.11.0.142\jre\lib\ext fand rename it to mysql-connector-java.jar removing the version
What to do in the Niagara Station
First: we are working in a station that contains already a few alarms, associated to an Alarm Class and the Alarm Class connected to an Alarm Console, as you would do in a regular application.
First step: add a RDBMS Network under the drivers section
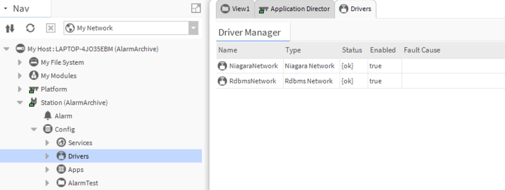
Add a "new device" to the RDBMS Network driver, selecting for our case the "MySQL" type
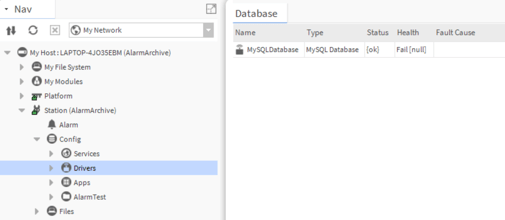
Open the Property view of the MySQL device and set the Host address IP, User name and password of the database, and the Database name

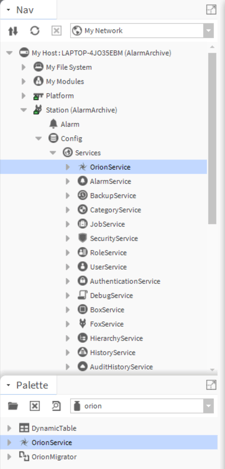
Open the "Orion" palette, and drag the "OrionService" to the "Services" section of the station (unless already present)
Open the "AlarmOrion" palette, and drag a "OrionArchiveAlarmProvider" component to the "AlarmService" section
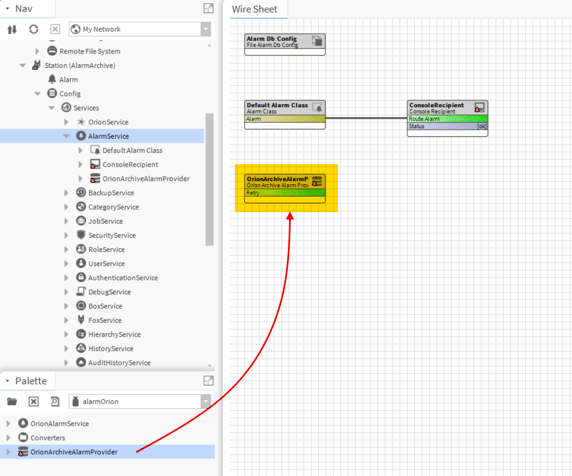
Double click the "OrionArchiveAlarmProvider" component and set it to "enable-true", set the frequency of synchronization (for testing purpose we set every minute, but normally you might set it daily) and select the RDBMS MySQL device in the Rdb Ord section

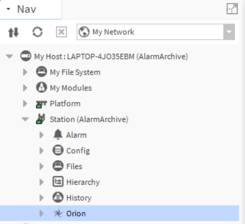
Restart the station from Application Director
You should notice in the NAV Tree now a new entry called "Orion"
Now you have 2 new sections on the station to see the result of your work.
Expanding the "Alarms" section (the Local Alarm Database), you should see an "AlarmArchive" entry which queries the remote database for cleared alarms.
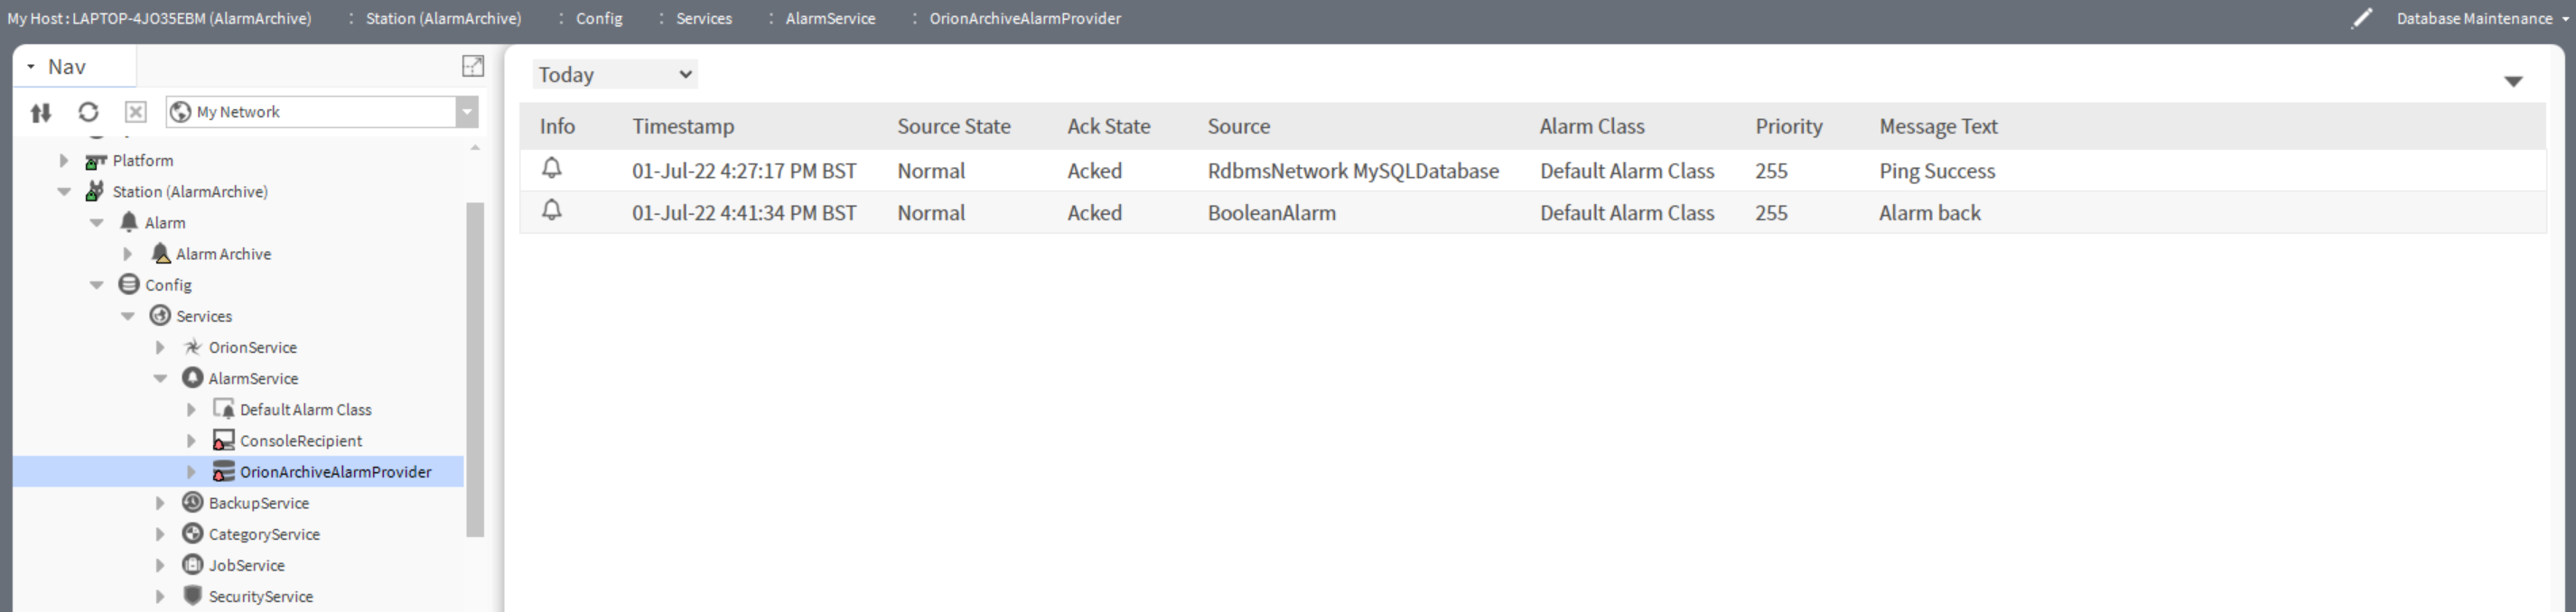
Also, if you now double click the "OrionArchiveAlarmProvider", the view now should be an Alarm DB view and you should be able to see all the cleared alarms.
All the cleared alarms shown here are not going to use space in the local database
Congratulations, you have a working alarm sync setup!