How to setup the iSMA IO devices to be used with Tridium using Modbus
Step by step guide to help you set up any iSMA IO using the Modbus protocol. Works with any Niagara Fravour Jace or Supervisor.
Hardware setup
First thing you have to do is to set some parameters on the device.
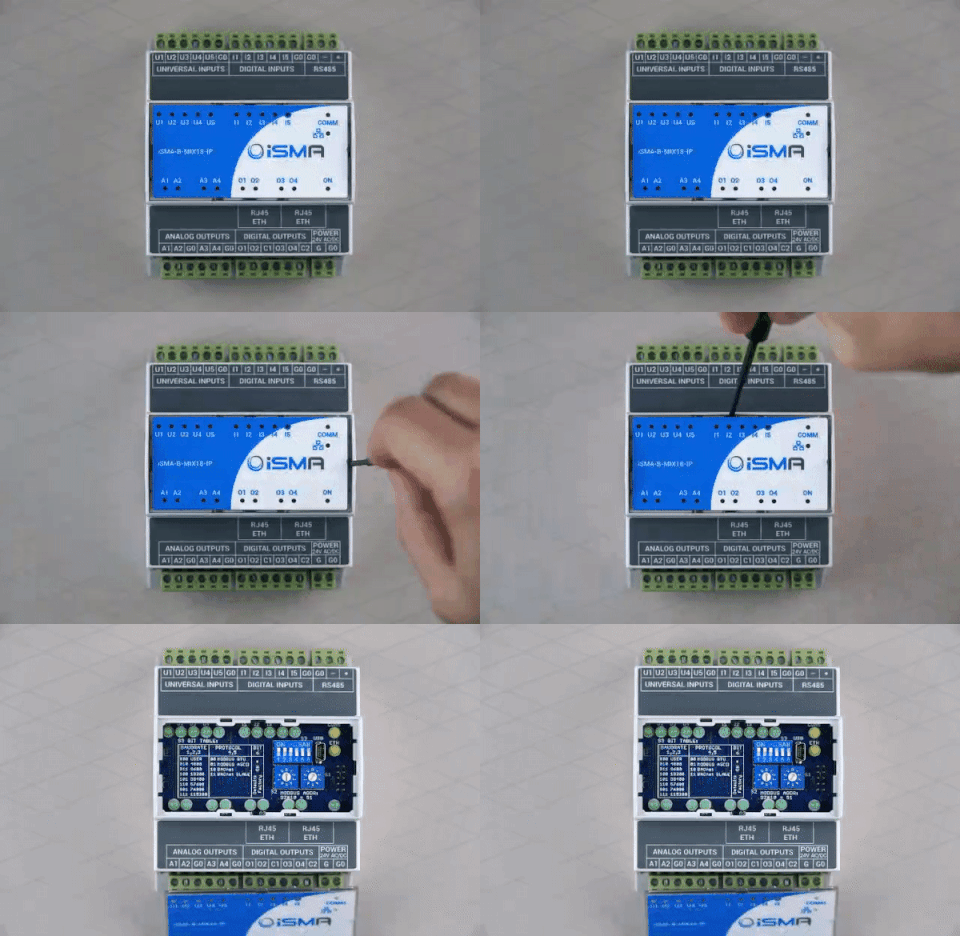
Take off the front cover of your device using a screwdriver:

Step 1 - Hardware setup
First thing you have to do is to set some parameters on the device. Under the front cover of the device you can see 1 ON/OFF switch and 2 rotary switches:

Step 1. To determine the address in the network, the module provides two rotary switches S1 and S2 located on the top panel device. It is possible to set the device address from 0 to 99.
The formula for setting the address:
Address = S2 x 10 S1
The switches set as in the picture means that the device will have address 11.

Step 2. Transmission speed is determined by S3 switch (sections 1, 2 and 3) in accordance with the following table:

Step 3. Protocol selection is done by sections 4 and 5 of the S3 switch according to the table below:
So to use Modbus network you need to have both switches in OFF position.

So to use Modbus network you need to have both switches in OFF position.
Tridium setup
Step 1. You have to download the ISMA Module JAR file from our website (click here) and install the correct version of the JAR file in the AX version in which you want to use.
Step 2. After you have installed it, open the station on the Jace controller that the ISMA modules are communicating through RS485 port and go to Drivers.
Step 3. Open the IsmaModule palette
Step 4. Drag and Drop the ModbusAsyncNetwork from the Modbus folder within the palette in the Driver Manager.

Step 5. Open the properties of the new Network, go to Serial Port and set:
The COM port that the Isma module is connected to (Ex: COM2)
The Baud Rate the same as the one that you set on the device like in the picture below:

After the settings are finished and saved you must see at the Status „OK”
Step 6. Go to Modbus Async Device Manager and Drag and Drop a device from the Modbus folder with the palette like in the picture below:

Step 7. Double click on the name of the device and it will pop-up a Edit window were you have to set the device address, the one that you have set on the device (rotary switches)

Step 8. Open the Modbus Client Point Manager and Drag and Drop the Points Folder from the palette

Step 9. Enter a point folder and you will find all the points in that category. If you don’t use all of the points you can erase them. When you need the deleted points, you can always drag them from the palette.

For more information about the Modbus device configuration, please see the documentation below which includes the standard Modbus addressing.
This document and technical data sheets will apply to all the ISMA devices.
Enjoy!
