When building your graphic pages (PX) on the workbench, you will notice that you can use any font installed on your machine for your labels and texts. What might not be that obvious is whether such label will work as expected on the actual controller.
When creating graphic, the recommendation is to use a supervisor as a central point where all the graphic is displayed. This solution will just use any font installed on the supervisor and is quite straight forward.
But with Niagara 4 and the powerful Jace8000 (and all the other Niagara 4 embedded controllers), the graphic is often managed by the controller itself, maybe serving a local touch screen for example.
This is absolutely fine, but it is important to be aware of the behavior of a controller compared to a supervisor when displaying your graphic. Have you ever noticed your labels showing a different text, being misaligned or (for the ones more analytical) have you ever seen some strange messages on the console about missing fonts?
Well, that is because when using a controller instead of a supervisor (Jace8000, EDGE10 or third party controllers like the MAC36) the usable fonts by default is limited to 4 fonts in total:

If you used any different font on your labels, the font will be automatically converted to a default Arial when requesting to visualize the page from your browser.
This obviously might cause the labels to "look" different than you expected, and also will generate more workload on the CPU of your controller.
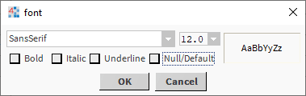
You might also have noticed that when you modify the "font" section on a label (i.e. to make it bold, or change the size), the Workbench defaults to SansSerif, which is NOT on the default list and could create even more confusion.
If you are using a Niagara 4 controller that we haven't listed here, you can check if your controller is affected by connecting to the platform and double click on the "Platform Administration". Check if your controller uses "Compact 3" as "Java Virtual Machine". If it does then your controller is affected.
Here below you can see an example of a Jace8000:

So, let see how we can solve this with 2 possible solutions.
Solution 1: for "non developers"
You can add your fonts directly on the system folder of your controller.
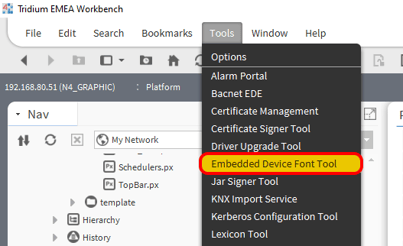
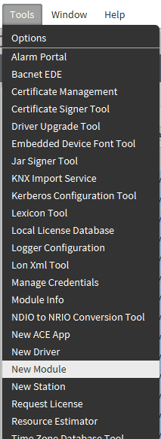
First, open the "Embedded Device Font Tool" on your Workbench
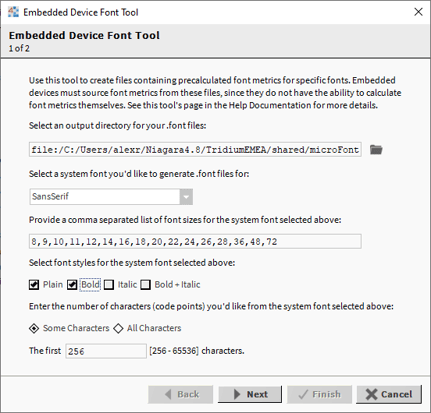
Fill in all the details of a font you want to add to your system
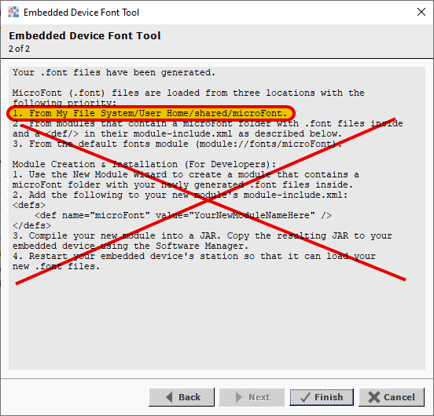
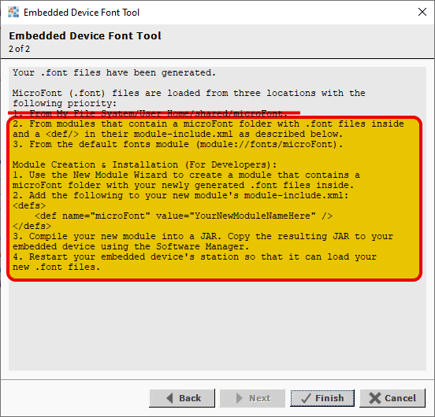
A screen will explain what should happen next with the 2 possible solutions. For this "non developer" solution we are going to refer to the "option 1" there, "From My File System/User Home/shared/microfont"
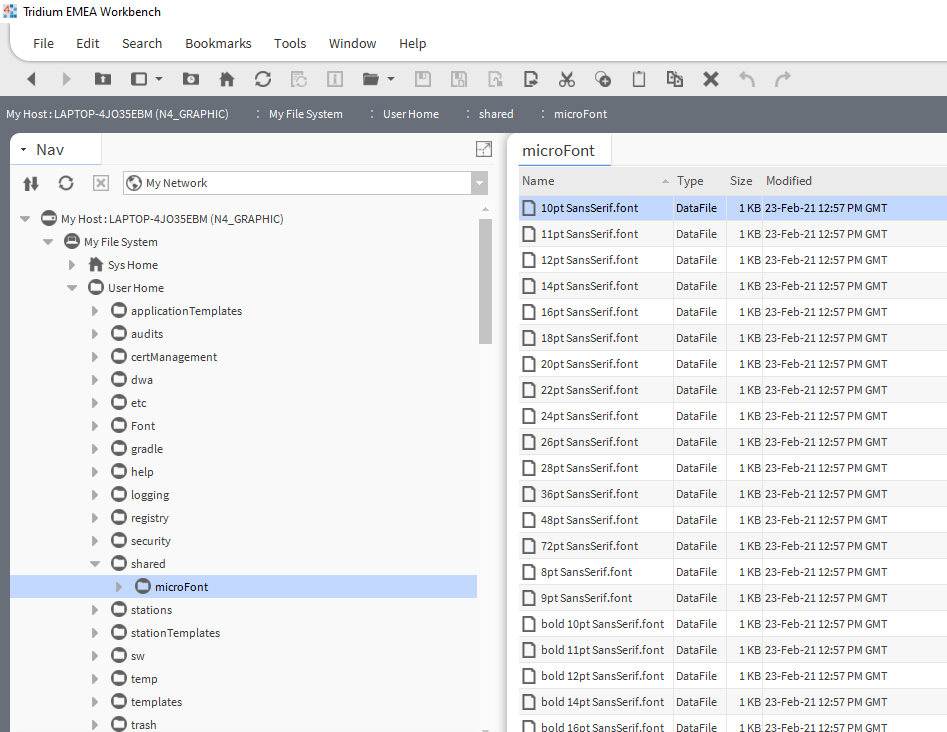
If I look now on my Niagara User folder, I will find my newly generate ".font" files
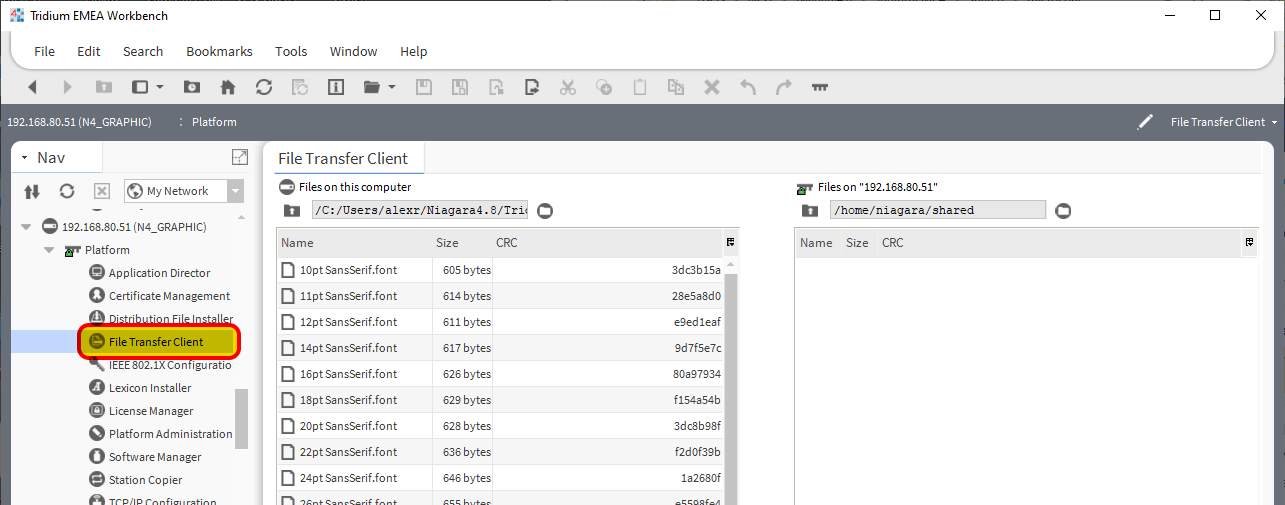
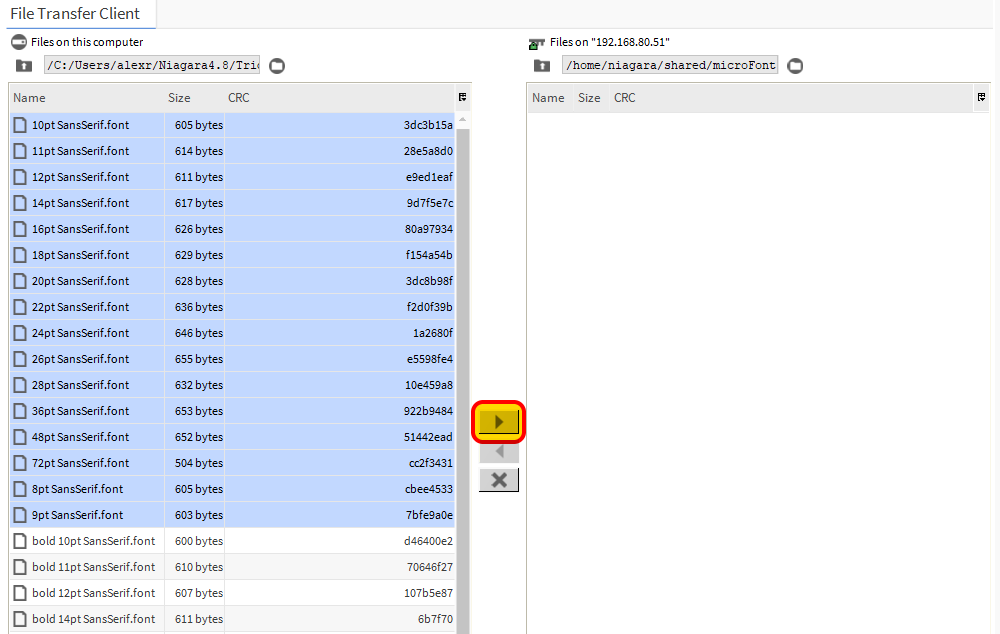
I can open the platform of the controller (in my example it is a Jace8000) and double click the "File Transfer Client".
In there, I select the user folder with all my ".font" files on the left side (my computer) and the folder "home/niagara/shared" on the right side (the controller)
I can now right click with the mouse inside the window on the right and select "Create subdirectory"
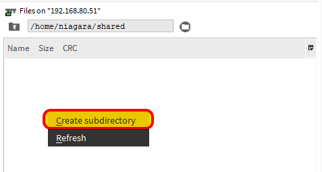
And call it "microFont"
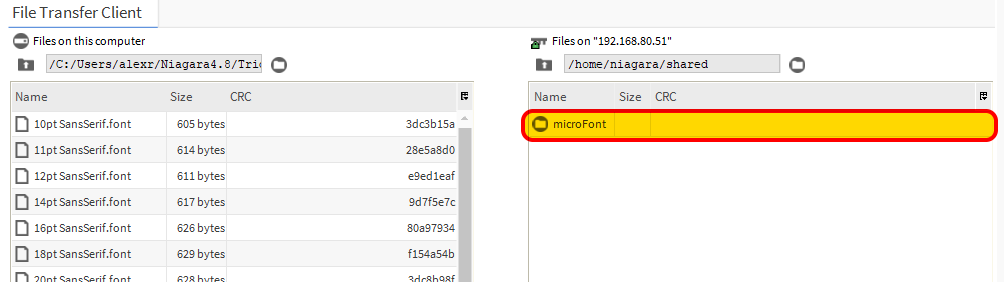
Then, I will double click it (path "/home/niagara/shared/microFont") and copy all the desired ".font" files from my computer user folder (left) to the controller folder just created (right) by selecting them and pressing the "right" arrow between the 2
Once all your fonts have been copied, reboot the controller and all your fonts should load.
NOTE: the fonts will need to be copied into the controller manually, there is no "quicker" way to achieve this. Doing a .dist backup of the system is not going to backup the fonts, so when restoring the .dist file to the Jace or any Niagara controller, the fonts will still need to be copied following the procedure above.
Solution 2: for developers
If you prefer, you can embed your fonts into a JAR file. The benefit of doing this is that you can commission your controller with the fonts embedded in the JAR, which would be requested at point of commissioning, without the need of copying the files to the system folder.
This operation though requires a certified Niagara developer to edit or create the JAR file.
First, open the "Embedded Device Font Tool" on your Workbench
Fill in all the details of a font you want to add to your system
A screen will explain what should happen next with the 2 possible solutions. For this "developer" solution we are going to refer to the "option 2" there, picking up the font from a module containing a "microFont" folder inside
Open the New Module Wizard if you want to create a brand new module
Make sure the new module contains the "microFont" folder with all the .font required files.
It is also essential that you edit the contained file "module-include.xml" adding the following part (replace the "YourNewModuleNameHere" with the name of the module):
<defs>
<def name="microFont" value="YourNewModuleNameHere" />
</defs>
Use your Java compiler tool to compile the new module.
Note: be aware that more recent versions of Niagara 4 require the modules to be digitally signed. Please use the Jar Signer Tool to sign your module or get the module signed by your developer.
You can then use the created JAR module by adding it using the Platform "Software Manager" section or adding it to the default modules at point of commissioning.
Reference to the Tridium documentation
If you are looking for this information on the standard documents from Tridium, check on your Niagara installation folder and look for the folder docs/docUser. You will find the "docUser.pdf" manual in there, giving a complete overview about the Niagara Workbench and the Niagara framework. On page 137 there is a chapter dedicated to the "Embedded Device Font Tool".